
How to Choose an Outdoor Coffee Stop: A Practical Site-Selection Checklist
Learning how to choose an outdoor coffee spot is less about finding the most dramatic view and more about finding a place that stays workable for the entire stop. A good location gives you a stable surface, room around the setup, manageable wind and weather exposure, no conflict with people moving through the area, and a simple way to pack up if conditions change.
This guide offers a practical site-selection method for a short outdoor coffee break with a portable espresso maker. It does not describe the operation of a specific product or promise capacity, pressure, temperature, battery performance, compatibility, or package contents. Always follow current posted rules, land-manager guidance, closures, restrictions, and the instructions for your exact equipment. The goal here is to choose the stopping place before unpacking, so a weak location does not become a rushed setup.
Choose the stop before you choose the view
Scenery matters, but it should be the second decision. First identify the practical boundary of the stop: where the product can stand, where personal supplies can remain separate, where people will walk, and how you will leave without scattering small items. A beautiful overlook with a narrow ledge may be a poor coffee stop. A modest established table with a broad dry surface may support a clearer, calmer break.
Think in terms of a complete stop, not a single photograph. You need to arrive, set down the closed maker, organize your own supplies, complete the break, inspect the surface, and pack out. If the location works only while nobody else is present or only while the wind remains perfectly still, it is not a resilient choice.
Start with two or three candidates
Do not commit to the first bench or flat rock you see. Identify two or three established options within the area you are already allowed to use. These might include a picnic table, a designated rest area, or a lawful parked-vehicle stop with a stable table. Compare them before opening a pouch or setting down small items.
A candidate list prevents “sunk setup” thinking. Once gear covers a surface, people tend to defend the location even when new traffic, wind, shade loss, or a posted restriction makes it unsuitable. Keeping the maker closed and the kit packed during the first comparison makes moving easy.
If the stop is part of a hike, the day-hike coffee guide provides broader packing context. For a driving day, use the road-trip coffee guide for the travel plan, then apply the location screen only after the vehicle is lawfully parked and all driving has ended.
Use a six-factor site screen
1. Surface stability
Look for a broad, level, dry surface that does not rock, flex, or slope toward an edge. The footprint should remain stable when the table is lightly touched during ordinary use. Avoid narrow rails, loose stones, soft sand, wet surfaces, fragile vegetation, and any position where a small shift could send the product or personal items to the ground.
2. Working boundary
Give the maker a protected central zone with open space around it. Keep the unit away from the table edge and separate from bags, sleeves, cords, food, and loose objects. The boundary does not need tape or special equipment; it can simply be a consciously empty area that everyone at the stop agrees not to crowd.
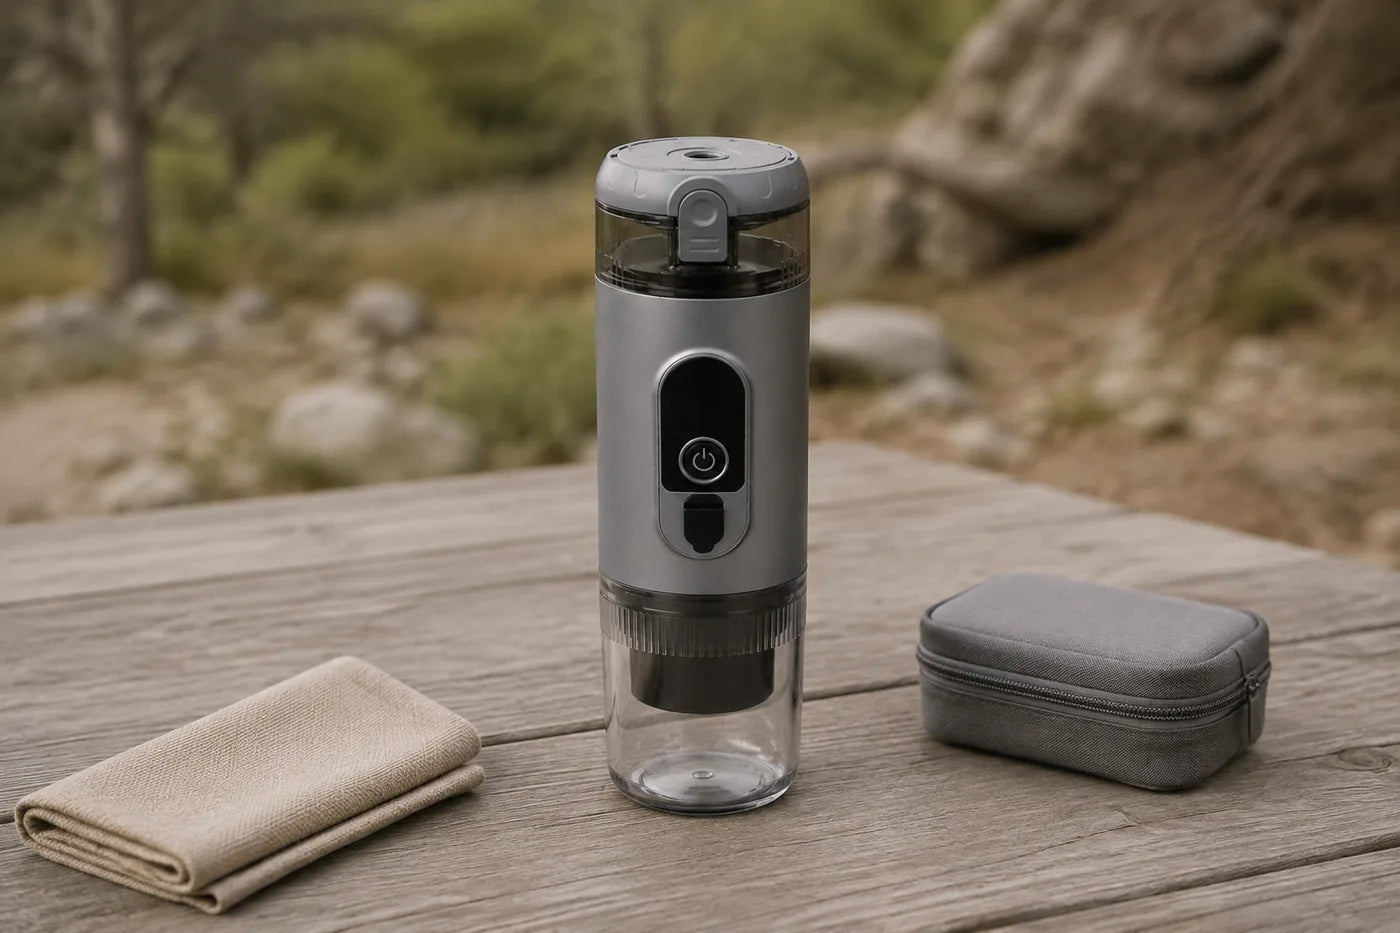
The cloth and pouch shown in an editorial scene are generic reader-selected props, not verified package contents. What matters is the spacing: no object touches the maker, the product is fully visible, and the surface has enough room for the stop without turning into a pile of unrelated gear.
3. Wind and exposure
Use visible local cues before unpacking. Watch leaves, loose dust, table debris, clothing, and nearby branches. A location can feel calm at standing height while gusts move across the tabletop. Prefer a naturally calmer established place, but do not move into a prohibited, enclosed, flammable, or otherwise unsuitable area just to escape the wind.
Weather can change after you arrive. Check a current forecast through an appropriate official or trusted service before the outing, then use on-site observations for the final decision. This article does not claim that the maker is weatherproof or suitable for use in precipitation. If the surface becomes wet or conditions make the stop uncertain, keep the equipment packed or end the stop.
4. Shade and comfort
Consider how the light and temperature will change during the time you expect to stay. A table in comfortable shade now may move into direct sun, while deep shade can become colder or darker than expected. Choose a location that supports a short, attentive stop without requiring you to rush. Do not infer a product operating range from the weather; consult the instructions for the exact unit.
5. People and traffic
Look beyond the empty moment. Is the table beside a trail entrance, restroom door, accessible route, viewpoint rail, loading area, or narrow passage? Would another visitor need the space to pass or use the facility? A low-conflict stop does not block the path, spread across shared seating, or depend on others stepping around your setup.
Keep children, pets, bicycles, vehicles, and moving equipment outside the working boundary. If traffic increases, pack up instead of expanding the boundary. The best site is not the one you can defend; it is the one that lets everyone use the area normally.
6. Rules and exit conditions
Read current signs and follow land-manager rules, closures, permit conditions, fire restrictions, parking requirements, and posted limits. Rules can vary by place and date, so do not rely on a general blog article as permission. If the guidance is unclear, choose a simpler break that does not require setting up, or ask the responsible land manager before the trip.
Define exit conditions before unpacking. Examples include rising wind, incoming precipitation, loss of the stable surface, growing foot traffic, a change in posted access, wildlife approaching the area, or any equipment concern. A pre-decided move-or-skip rule prevents the desire to finish a cup from overruling the conditions in front of you.
Compare candidate stops with a decision table
A small table turns a vague preference into a repeatable choice. Use simple observations rather than invented precision. “Broad, dry, level table” is useful; a made-up stability score based on no measurement is not.
| Factor | Good candidate | Warning | Move or skip when |
|---|---|---|---|
| Surface | Broad, level, dry, established | Narrow, sloped, flexible, or damp | The surface shifts or cannot keep the setup away from an edge |
| Boundary | Clear central working zone | Bags, sleeves, cords, or food crowd the product | Personal items cannot stay separated |
| Exposure | Calm enough for the planned stop | Moving dust, debris, clothing, or branches | Wind or precipitation changes the surface or control of small items |
| Traffic | Clear path and normal shared use | Setup sits near a route, entrance, rail, or loading area | Others must detour or step around the stop |
| Rules | Current use is clearly allowed | Notices are missing, unclear, or changing | A closure, restriction, or instruction conflicts with the plan |
| Exit | Pack-out can begin immediately | Loose items or open bags slow departure | Conditions change faster than the stop can be closed |
Do not add the columns into one false numerical score. A severe problem in a single factor can outweigh five attractive features. For example, a quiet view does not compensate for an unstable surface, and deep shade does not compensate for blocking an accessible route.
Run a 60-second arrival scan
When you reach the preferred candidate, pause with everything still packed. Look down at the surface and edges. Look across the table for the working boundary. Look up for changing weather and overhead conditions. Look behind you for paths, doors, rails, vehicles, bicycles, and people who may approach. Read current notices. Finally, identify the fastest clean pack-out route.
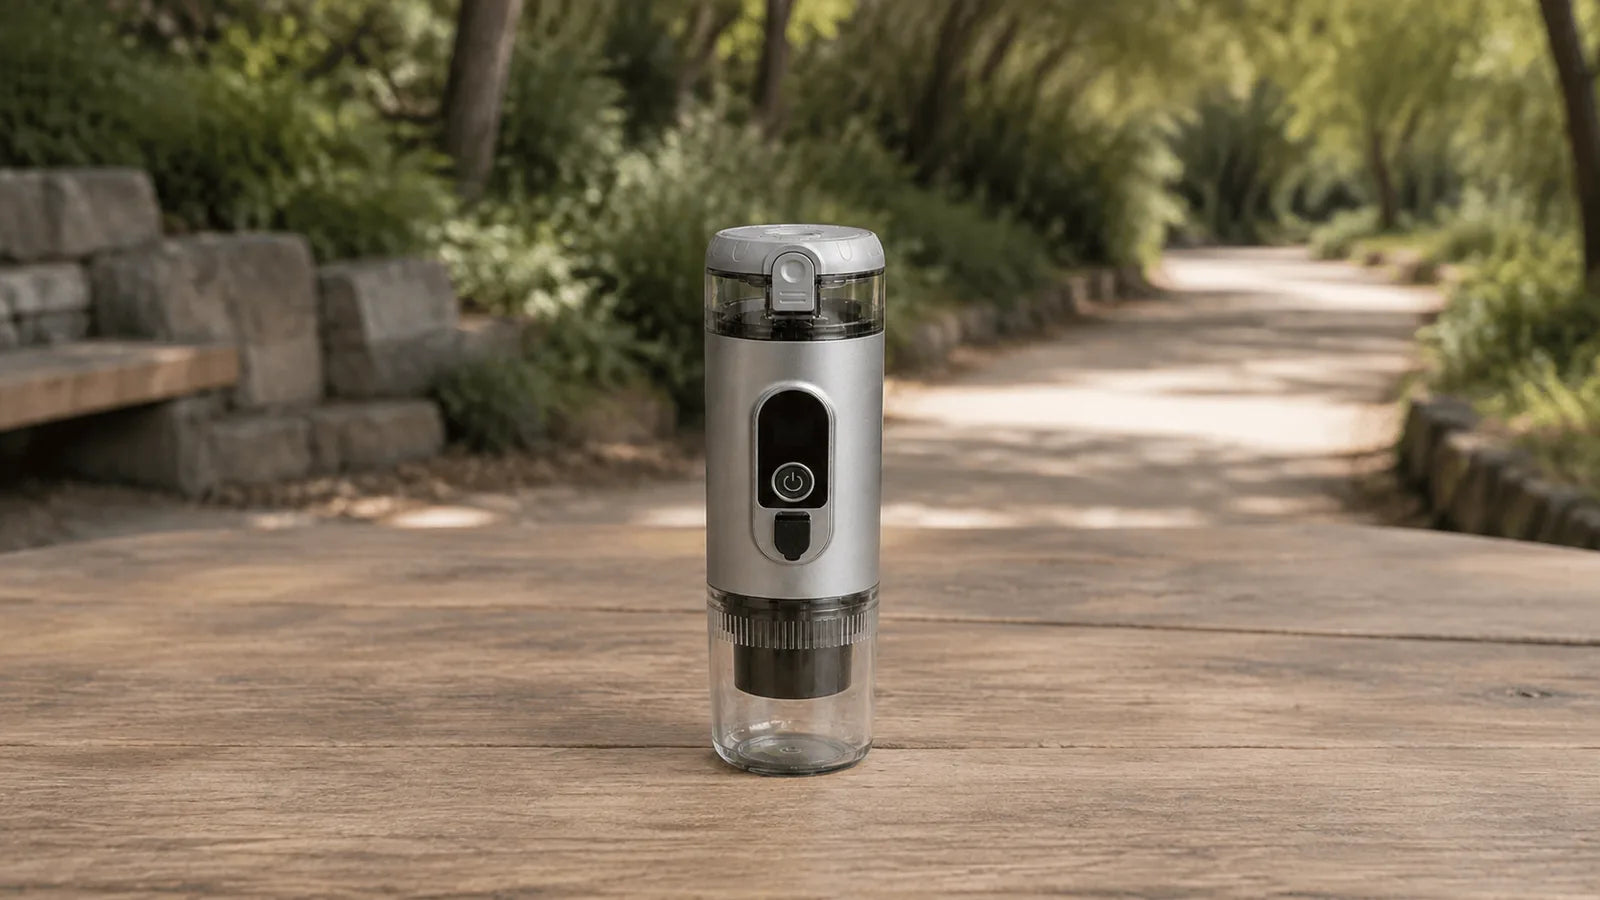
If the scene still works, place the closed maker in the protected zone before arranging any personal supplies. Keep only the items needed for the immediate stop on the surface. Leave decorative objects, extra tools, and unrelated gear packed. A small setup is easier to understand, supervise, and move.
Use the smallest workable setup
Site selection and packing design reinforce each other. A compact, organized kit gives you more location options because you need less surface area and can close the stop quickly. Keep the principle simple: one protected product zone, one personal-supply zone, and one return-home containment zone.
Do not treat a staged photograph as proof that a pouch, cloth, cup, or accessory comes with the product. Verify included items against the current listing for the exact unit. When public product information cannot be checked, the honest editorial choice is to describe generic personal supplies as personal supplies and omit compatibility claims.
Know when to skip the coffee stop
Skipping is a successful site-selection outcome. It means the screen found a mismatch before the maker was opened or the surface became cluttered. Keep moving when there is no stable established surface, the only option blocks shared access, weather is changing quickly, posted rules are unclear, or your group cannot maintain a simple working boundary.
You can still take a break, drink water, eat an appropriate packed snack, or continue to a more suitable place. The plan should serve the day rather than force the day to serve the plan. If preparing coffee during a stop no longer fits the schedule, keep the equipment packed and use the simpler plan you prepared before departure.
Close the stop with the same site screen
Before leaving, return the surface to its starting condition. Account for every personal item, inspect the table and surrounding ground, and separate anything that needs later care from clean packed items. This article does not provide product cleaning instructions. Use the portable espresso maker cleaning guide and the instructions for your exact unit for the appropriate care process.
Recheck the working boundary and the route away from the stop. A clear closeout confirms whether the location really was a good choice. If pack-out was awkward because bags blocked the path, objects rolled toward an edge, or traffic crowded the table, note that for the next outing.
A compact outdoor coffee site checklist
- Identify two or three established candidate locations before unpacking.
- Choose a broad, level, dry surface with distance from every edge.
- Reserve a clear central product zone and separate personal supplies.
- Check visible wind and weather cues at tabletop height.
- Consider how shade and comfort will change during the stop.
- Keep paths, entrances, rails, shared seating, and access routes clear.
- Read current rules, notices, closures, and restrictions.
- Define move-or-skip conditions before opening the kit.
- Run a 60-second arrival scan while everything remains packed.
- Use the smallest workable setup and keep extra items contained.
- End the stop when conditions no longer match the plan.
- Account for every item and inspect the surface and ground before leaving.
Frequently asked questions
What makes a good outdoor coffee spot?
A good spot has a broad, level, dry established surface, a clear working boundary, manageable exposure, no conflict with normal visitor traffic, clearly permitted use, and an easy pack-out route. One serious problem can disqualify an otherwise attractive location.
Should I use a picnic table or a flat rock?
Use the option that is established, allowed, stable, dry, broad enough for safe spacing, and outside normal traffic. A picnic table is not automatically suitable if it is wet, damaged, crowded, or needed for access. A natural surface should not be used if doing so disturbs vegetation or creates an unstable edge.
How much space does an outdoor espresso stop need?
Use enough space to keep the closed maker in a protected central zone and all personal items separate from it and from table edges. This guide does not assign a universal measurement because equipment, surfaces, and local conditions differ.
What should make me cancel or move the stop?
Move or skip when the surface is unstable or wet, wind or precipitation changes the scene, traffic begins to conflict with the setup, current rules are unclear, the working boundary cannot remain clear, or any equipment concern appears.
Make the location earn the setup
The best outdoor coffee stop is the one that remains ordinary and manageable from arrival through pack-out. Compare candidates, screen the surface and boundary, watch exposure and traffic, follow current rules, and decide in advance when to move. If you want broader TrailBrew product information, visit TrailBrew and verify the current listing and instructions for the exact unit before relying on any product-specific detail.
Product-information note, checked 2026-09-06: the formal storefront and Sitemap could not be read during the permitted web attempts, so this article intentionally makes no current capacity, pressure, temperature, battery, package-content, compatibility, weather-resistance, or performance claim.