
Coffee for Day Hikes: How to Pack a Compact Espresso Setup
Good coffee can make an early trailhead feel like the beginning of a trip instead of a rushed departure. But coffee for day hikes has a different job than coffee at home. It has to fit into a small pack, work with the water and time you actually have, and leave no mess behind.
The answer is not to carry a miniature kitchen. A better approach is to build a compact espresso setup around one brewing method, one serving plan, and a simple pack-out routine. This guide shows how to do that with a portable espresso maker while keeping the plan practical for short hikes in the United States.
If you are still deciding whether espresso makes sense outdoors at all, start with our guide to making espresso while camping. For a day hike, the goal is narrower: carry only what you need for one or two intentional coffee stops.
What makes coffee for day hikes different?
A day hike may last only a few hours, but that does not mean every coffee method is equally convenient. The best setup depends on four limits: pack space, water, cleanup, and the surface where you will brew.
First, you probably do not want a grinder, kettle, scale, brewer, and serving vessel moving around in the same small pack. Second, every ounce of water has another purpose on the trail: hydration comes before coffee. Third, used coffee and wet equipment must come home with you. Finally, a scenic viewpoint is not automatically a safe work surface. Wind, uneven rock, dry vegetation, and crowded overlooks can turn a simple brew into a nuisance.
That is why a compact day-hike coffee kit should reduce decisions. Choose your coffee before leaving, carry potable water, use a stable dry surface, and pack a dedicated pouch for anything damp or used.
Choose where the coffee stop will happen
Before packing, decide whether you will make coffee at the trailhead, at a developed rest area, or at a mid-hike viewpoint. The location changes what is practical.
Trailhead coffee
This is the simplest option. You can use a picnic table, the open tailgate of a parked vehicle, or another stable surface before starting. It also keeps the brewing routine close to spare water and your vehicle. If the trail becomes busier, windier, hotter, or colder than expected, you have already finished the coffee step.
A developed rest stop
A designated picnic area can work well when it offers a flat table and enough room to keep gear organized. Confirm local rules, keep the setup out of the walking path, and never block shared space longer than necessary.
A viewpoint or summit
This is the most scenic choice and often the least convenient. Exposed rock can be unstable, wind can move light items, and busy viewpoints may not leave room for a brewing setup. If you cannot place the maker upright on a dry, stable surface, save the coffee for another location. A photo-worthy view is not worth damaging equipment or creating a spill.
Build a compact hiking coffee setup
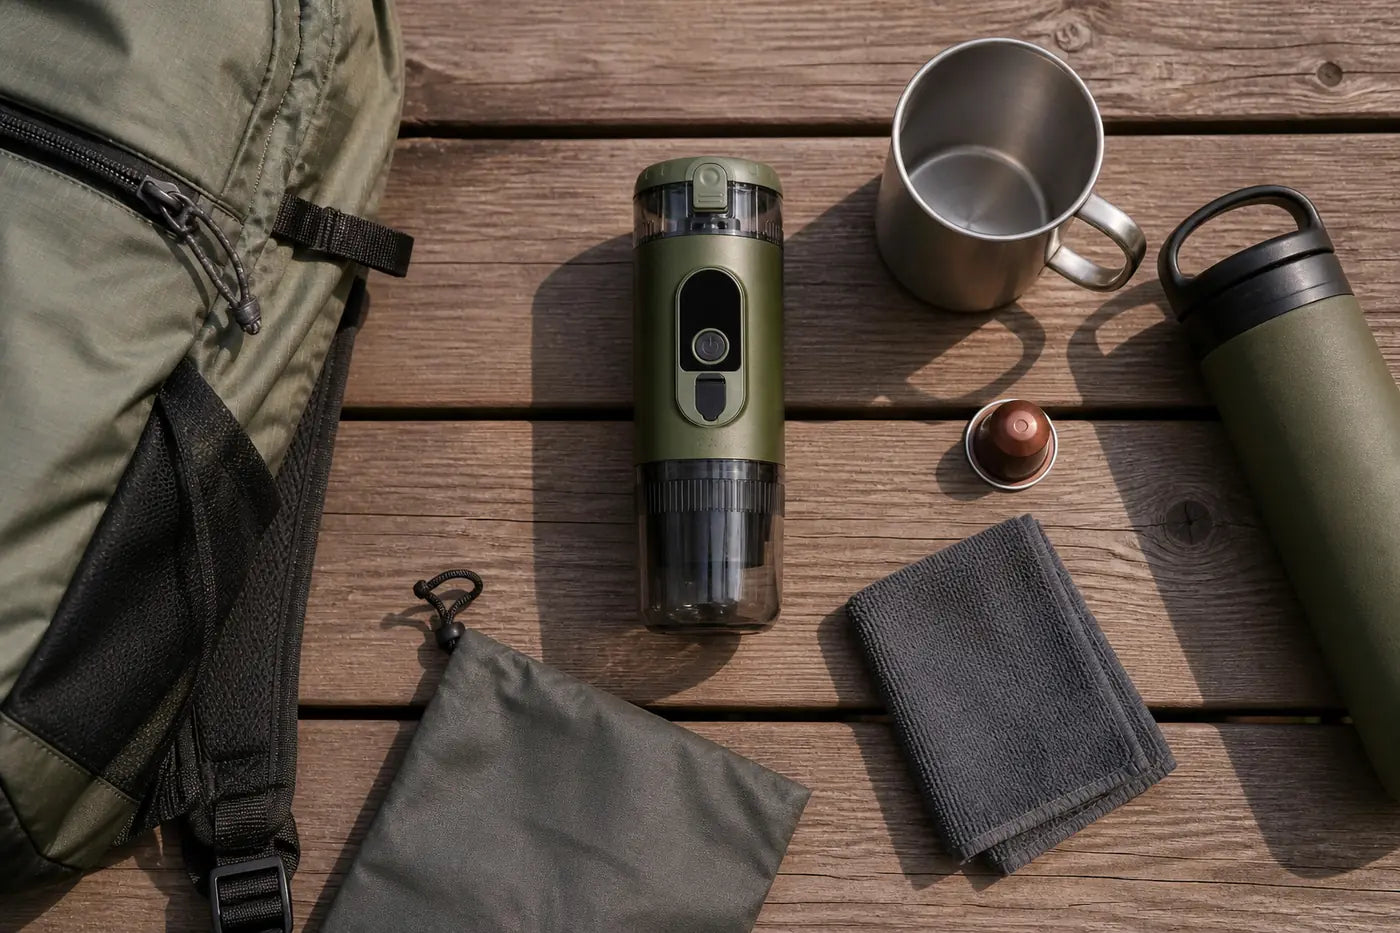
A practical kit has six parts. Each item should have a clear job; if it does not, leave it at home.
1. One portable brewing device
Choose a device that matches the kind of coffee you want and the amount of setup you are willing to manage. A portable espresso maker is useful when you prefer a concentrated serving and do not want to carry a pour-over dripper, filters, and a separate kettle.
The current Alpine Green TrailBrew product page describes it as a self-heating portable espresso maker with a 60 ml water tank, a 20 bar pump, and compatibility with Nespresso-compatible capsules or up to 8 g of ground coffee. Those specifications are specific to this model. If you are comparing methods or models, use our portable espresso maker buying guide before purchasing.
2. Pre-portioned coffee
Do the measuring at home. A compatible capsule is the simplest option for a short hike because it is sealed and easy to count. Ground coffee gives you more control over flavor, but it needs to be portioned and packed carefully. Do not carry a full bag of beans or a grinder unless grinding coffee is the main purpose of the outing.
TrailBrew supports compatible capsules or up to 8 g of ground coffee, according to the current product page. Pack only the format you plan to use. Our capsule versus ground coffee guide explains the tradeoffs in more detail.
3. Potable water with a separate coffee allowance
Carry all the drinking water your hike requires first, then add the amount reserved for coffee. Do not reduce your hydration supply to make room for a brew. The TrailBrew tank holds 60 ml, so one espresso cycle uses a small, predictable amount, but you should still carry a little extra for normal handling and unexpected changes.
Use potable water. Do not assume a stream, lake, campground tap, or seasonal source is safe without appropriate local information and treatment. This article is about packing coffee gear, not backcountry water treatment.
4. One durable cup
A small metal or durable travel cup is enough. Choose a cup that sits flat and fits the serving size. A large mug adds bulk and makes a small espresso look lost; a fragile cup has no place in a hiking pack.
5. A small cloth
A folded microfiber cloth helps keep the setup dry and lets you wipe ordinary drips from the table or outside surfaces. It is not a substitute for the manufacturer’s cleaning instructions. Do not rinse the powered main unit or expose it to water unless the official instructions specifically allow that method.
6. A pack-out pouch
Bring a small reusable, leak-resistant pouch for a used capsule, spent grounds, and the damp cloth. “Biodegradable” coffee waste still does not belong beside a trail or viewpoint. Pack out everything you brought in.
Cold water or hot water: plan around battery use
A self-heating maker can reduce the need for a separate kettle, but heating water requires far more battery energy than extracting coffee from water that is already hot. That difference matters when you are planning several stops or sharing coffee.
The current Alpine Green product page states approximately four to five brews when the machine heats cold water, or approximately 300 extractions when starting with hot water. Treat those as product-page estimates, not guarantees. Actual results can vary with water temperature, battery condition, and use. For most day hikers, the useful planning takeaway is simple: a cold-water brew is convenient, but it is the battery-intensive mode.
For a one-cup trailhead stop, cold potable water may be the cleanest packing plan because it avoids a separate hot-water container. For a group, multiple servings, or a longer trip, start with a fully charged device and decide whether carrying hot water is more practical. Do not improvise charging, heating, or operation methods that are not covered by the product instructions.
A simple pre-hike checklist
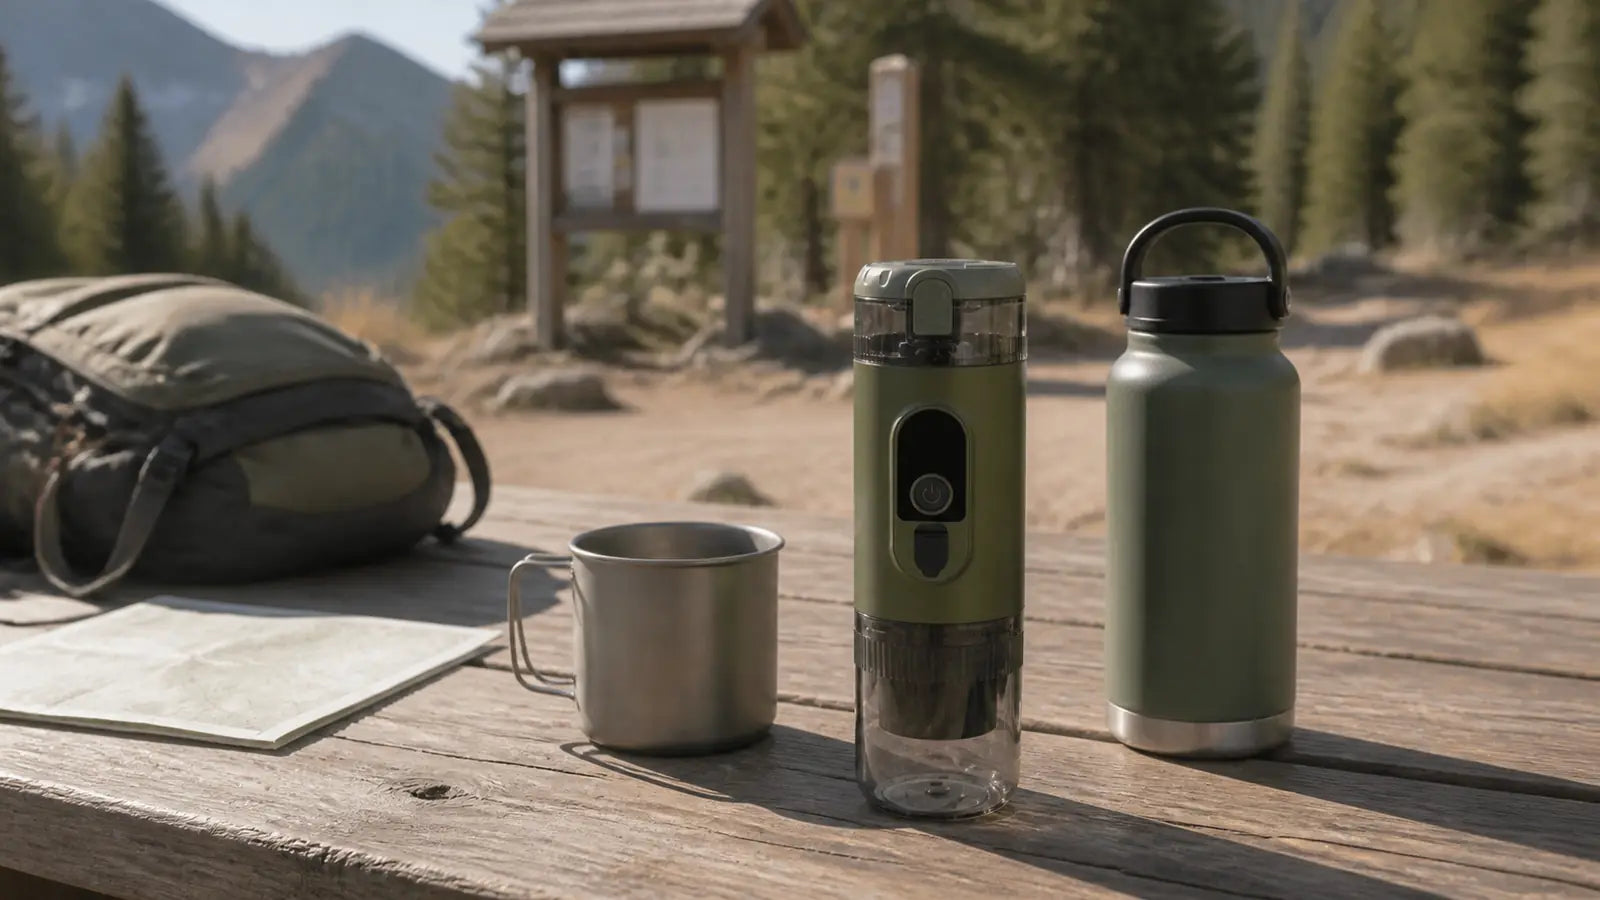
Run through this list at home, not in the parking lot:
- Charge the espresso maker fully.
- Confirm that the device, cup, and removable components are clean, dry, and correctly assembled.
- Choose capsules or pre-portion ground coffee.
- Carry potable water for the hike, plus the planned coffee amount.
- Pack one stable cup, one small cloth, and one waste pouch.
- Keep the device protected from impact and separate from leaking bottles.
- Read the manufacturer’s operating instructions before leaving home.
If you cannot complete the checklist, skip the trail brew and make coffee before departure. The most reliable outdoor setup is the one you already understand.
How to keep the trail stop simple
When you reach the chosen location, slow down long enough to set up correctly. Place the maker upright on a dry, level surface. Keep the cup stable, secure lightweight packaging against wind, and follow the manufacturer’s instructions for coffee loading, water, controls, and extraction.
The TrailBrew display shows battery level, water temperature, and extraction time, according to the current product page. Check those indicators instead of guessing. Do not hold the device over another hiker’s gear or operate it while walking.
After the brew, allow hot surfaces and coffee components to cool as directed. Seal the used capsule or grounds in your pack-out pouch. Wipe ordinary exterior drips with the cloth, keep the powered main unit dry, and wait until you are home to perform the full cleaning routine in accordance with the product instructions.
When a portable espresso setup is worth carrying
A portable espresso maker makes the most sense when the coffee stop is part of the experience: an early trailhead meeting, a planned overlook break, or a relaxed return to the parking area. It is less compelling on a fast fitness hike where every stop interrupts the goal.
For a very short walk, a thermos from home may be simpler. For a long backpacking trip, total pack weight, charging, water treatment, and multi-day cleanup become larger decisions. Day hiking sits in the middle: there is enough time to enjoy a real coffee stop without building a full camp kitchen.
The best kit is not the one with the most features. It is the one you can pack, operate, and clean up without distracting from the hike.
Frequently asked questions
Can TrailBrew make coffee from cold water?
Yes. The current Alpine Green product page describes a self-heating mode that heats cold water to brewing temperature. Follow the official operating instructions and start with a fully charged battery.
How much water should I reserve for one espresso?
The TrailBrew tank holds 60 ml. Carry your full hiking hydration supply first, then add the water allocated to coffee. A small extra margin is sensible for ordinary handling, but do not rely on untreated natural water.
Should I pack capsules or ground coffee?
Compatible capsules are easier to count and contain on a short hike. Ground coffee offers more flavor control but should be pre-portioned at home. The current product page supports Nespresso-compatible capsules or up to 8 g of ground coffee.
How many self-heating cups can I expect?
The current product page states approximately four to five brews when heating cold water. Results can vary, so charge fully and plan conservatively rather than treating the estimate as a guarantee.
What should I do with used coffee on the trail?
Seal the used capsule or spent grounds in a pack-out pouch and carry it home. Do not scatter coffee grounds or leave capsules, filters, packaging, or rinse water at the viewpoint.
Build a smaller trail coffee kit
TrailBrew Alpine Green combines self-heating brewing with compatible capsules or ground coffee in a compact format designed for travel and outdoor coffee stops.