
How to Transfer Coffee Grinder Settings Before a Trip
When you change grinders, carry over the recipe and rebuild the setting on the destination grinder. Start with that exact model's guidance for your brewing method. Keep the coffee, dose and brewing procedure steady while you check the result. Save the successful setting with its units and reference point. A number copied from another grinder is not enough information to reproduce a cup.
You do not need to buy a second grinder to solve this problem. If the travel grinder's instructions are missing, its adjustment is unclear or you have no time for a trial, use the familiar setup or take coffee already ground appropriately for your existing recipe. The useful outcome is a workable trip plan, even when the new equipment stays home.
Decide what you are trying to preserve
Before looking for a conversion, write down what already works: the coffee, brewer, filter or supported input, coffee dose, water amount and recipe sequence. Then describe the result you want in ordinary words. Perhaps you want the familiar morning cup with less equipment, or a coffee that tastes acceptable without repeated adjustments at a stop.
Those are different from proving that two grinders produce identical grounds. For a trip, a repeatable cup you enjoy is usually a more useful acceptance test than matching a dial number. If you also change the beans, brewer and water, you may still discover a good recipe, but you will not know which change explains the difference.
Choose one question for the trial: can this destination grinder support the recipe I already use? Leave a separate comparison of grinders' taste preferences for another day. This keeps the exercise small enough to finish before packing.
Decode the old setting before you copy anything
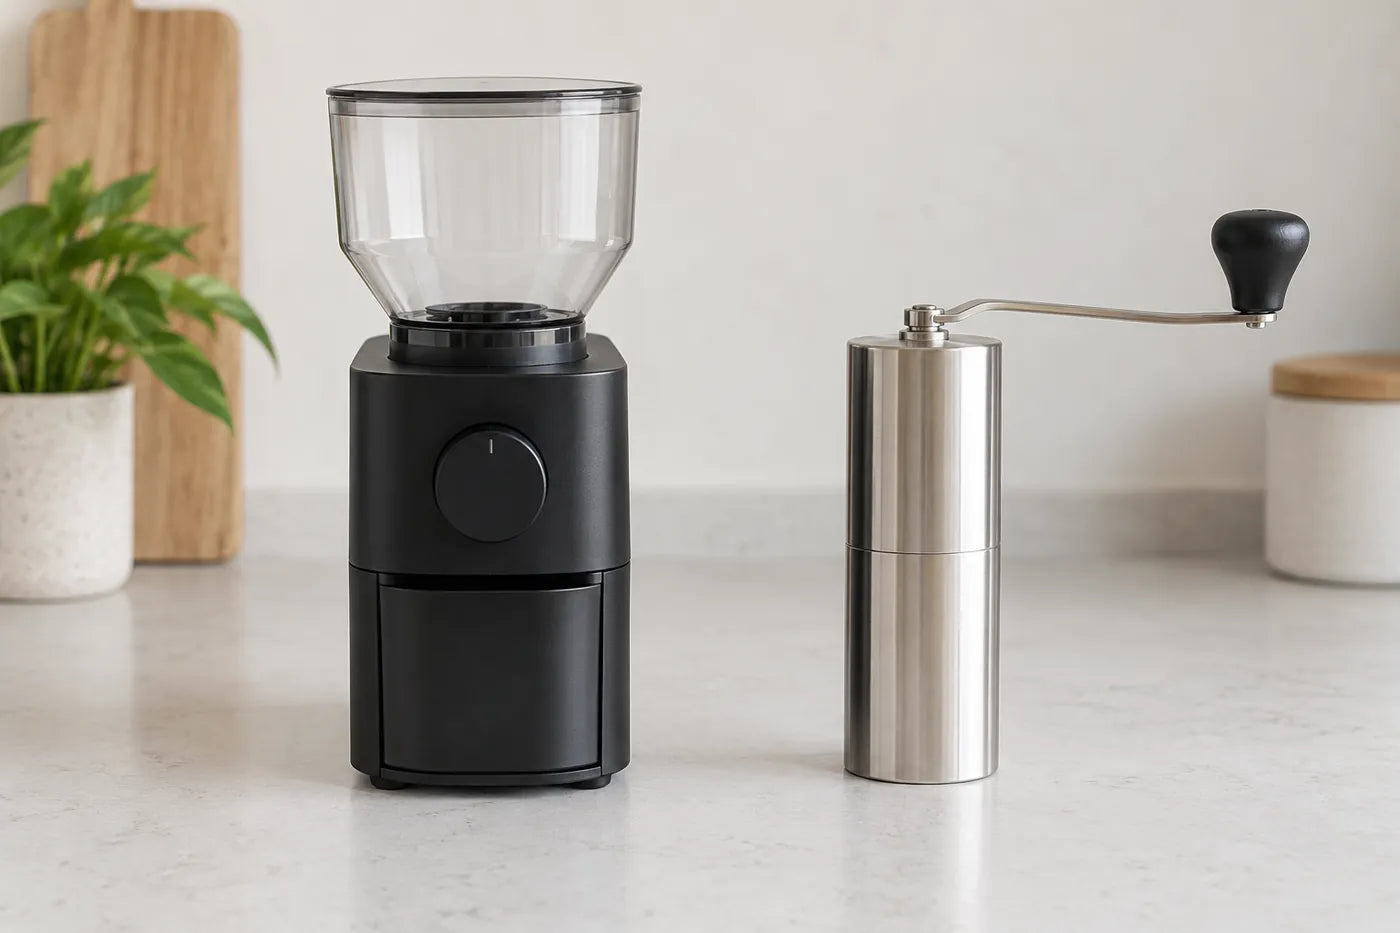
A useful setting includes an exact model name, the adjustment system and the convention used to describe its position. Check the suffix or version, not just the brand. A saved note saying “18” might mean a numbered mark, individual clicks or a position reached after a full turn. Ask what the original recipe author meant before treating it as a precise instruction.
As a concrete example, the 1Zpresso grind-setting chart lists different numbers of clicks per rotation for different models: 30 for the Q Series/J/JE grouping and 40 for JX-Pro S/JE-Plus. Its examples also distinguish rotations, numbered marks and clicks. These are model-specific descriptions of adjustment, not a table equating the resulting coffee between grinders.
In a purely hypothetical notation system with 40 clicks per full turn, one turn plus six clicks totals 46 clicks. That arithmetic only decodes a position within that system. It does not mean 46 clicks on another grinder, or a proportional fraction of its range, will reproduce the coffee. Save the original wording alongside any decoded total so you can check your interpretation later.
Build a starting point for the destination grinder
Find the destination model's current manual or manufacturer chart. Match both the exact version and the brewing method. If your brewer requires a supported input or recipe, retain that requirement; a grinder chart cannot override the brewer's instructions. Choose the manufacturer's stated starting point where available, or a position within its recommended range that the instructions identify as appropriate.
Blue Bottle's grinder-setting guidance treats recommendations as starting points and notes that individual grinders and coffees can behave differently. Use that principle to plan a trial, rather than expecting the first suggested setting to be your final answer. Its advice does not establish a conversion for your particular pair of grinders.
Check the adjustment procedure before moving the dial. Do the instructions require an empty grinder, or describe a particular operating state for adjustment? Which direction changes the setting? What limits must you respect? Use your model's answer. Do not transfer a procedure from an electric grinder to a hand grinder, or force a control because an online recipe expects a number you cannot reach.
Keep reference points separate from repair
The 1Zpresso calibration tutorial separates internal, top and external adjustment designs and explains that some starting points need not align with the printed zero. It also warns against overtightening. A printed zero and a reference position therefore require model-specific interpretation; moving parts until the markings match is not a universal preparation step.
For this transfer exercise, record the reference convention the manufacturer specifies. If that convention is unclear, stop the setting transfer and obtain the correct model instructions. Do not dismantle, tighten or recalibrate a functioning grinder merely to make a borrowed recipe's number look right. This guide intentionally gives no universal turning direction or zero-finding sequence.
If the grinder has been serviced, reassembled or adjusted since the saved recipe, treat the old note as something to verify. Record that change next to the setting. A photograph of the outside dial can help you identify a mark, but it cannot establish hidden turns or replace a missing reference convention.
Run one bounded recipe trial at home
Set aside enough coffee for a trial and, if needed, a repeat without consuming the portions reserved for the trip. Use the recipe's normal supported batch size. A smaller improvised batch would introduce another change just when you are trying to understand the grinder transfer.
- Record the starting setup. Note the destination model, setting with units, reference convention, coffee and complete recipe. State what you would consider acceptable before tasting.
- Follow the exact equipment instructions. Grind and brew using the supported procedure. If operation is abnormal or instructions cannot be followed, stop and consult the manufacturer's help rather than forcing the trial.
- Describe the cup and the process separately. Record whether you enjoyed the drink and whether the recipe was practical to carry out. An acceptable taste does not make an awkward stop routine convenient.
- Choose one next action. Accept the setup, repeat because something went wrong, or make one supported setting adjustment while keeping the rest of the recipe steady. Use the brewer's or grinder's troubleshooting guidance for the direction of adjustment.
- Confirm before packing. If a changed setting seems useful, make the recipe again when feasible. One promising cup is a candidate; a repeat tells you whether you can reproduce it under your preparation conditions.
This is a proposed home workflow, not a reported experiment or a statistical test. It does not guarantee the same cup at a different water source or with another coffee. Its value is that a disappointing trial produces a specific next decision rather than an unexplained pile of changed settings.
Use a record that survives the journey
A phone note or small card is enough. Keep the setting and recipe together, so “the number that worked” does not become detached from the coffee and brewing method. Add a date and any known equipment change; you do not need an elaborate tasting spreadsheet.
| Write down | Why it matters |
|---|---|
| Exact model and version | Identifies the relevant adjustment instructions |
| Setting, units and reference convention | Distinguishes marks, clicks and full turns |
| Coffee, dose, water and recipe | Makes the trial reproducible |
| What happened and what you liked | Separates execution problems from preference |
| Next action and fallback | Turns the note into a departure decision |
For example, a hypothetical traveler might write: “New grinder, exact model recorded; manufacturer's filter starting point; usual beans and recipe; cup acceptable; repeat tomorrow; take familiar pre-ground portion if the repeat is impractical.” That is more useful than “same as home, setting 18.” Replace the words with your own verified position after using the manual.
Choose the trip setup, including buying nothing
Take the destination grinder when its supported setting is clear, your recipe works and you are willing to repeat the preparation during the trip. Keep the familiar equipment when the transfer adds uncertainty without solving a real space or workflow problem. Use suitable pre-ground coffee when you already have a workable recipe and grinding during stops is optional.
The tradeoff is the task you carry with you: grinding at a stop requires the grinder and that preparation step, while preparing coffee in advance moves that work before departure. Neither option wins for every traveler. The related pre-ground coffee versus a travel grinder guide explores that timing and packing decision after you have established whether the recipe transfer is worthwhile.
Frequently Asked Questions
Can I use an online conversion calculator?
Treat an unsupported conversion as a suggestion that still needs checking against your exact model's allowed range and instructions. If the calculator does not state the model version, reference convention and basis for its mapping, it cannot replace those missing details.
What if another person owns the same model?
Their setting is a more specific starting clue than an unrelated grinder's number, but ask for the recipe, coffee and reference convention too. Confirm it on your own equipment before relying on it away from home.
Should I change grinders if the first cup disappoints?
First decide whether the trial was valid. A missed recipe step warrants a repeat, while unclear instructions warrant deferring the new setup. One cup does not establish that you need a purchase. Keep the familiar method available while you investigate.
Sources checked October 1, 2026. Manufacturer examples are limited to the named models and concepts cited; no universal conversion or calibration procedure is provided. The workflow and examples are planning suggestions, not first-party tests. All three images are generated illustrations; generic props are not stated package contents.