
How to Make a Larger Coffee with a Small Brewer
To make a larger coffee with a small brewer, choose among three routes: use a larger recipe explicitly supported by your model, add water to a suitable brewed concentrate, or make another normal brew with fresh coffee. A bigger mug does not make the brewing chamber bigger. If none of those routes gives you a drink you enjoy within your available time, keep the smaller serving.
The useful question is not simply “How much water fits?” It is “How much finished coffee can this setup produce at a strength I like?” Work that out at home before relying on a new serving size during a road trip or camping stop. You can do the planning with equipment you already own; no larger brewer is automatically required.
1. Define the larger drink before changing the recipe
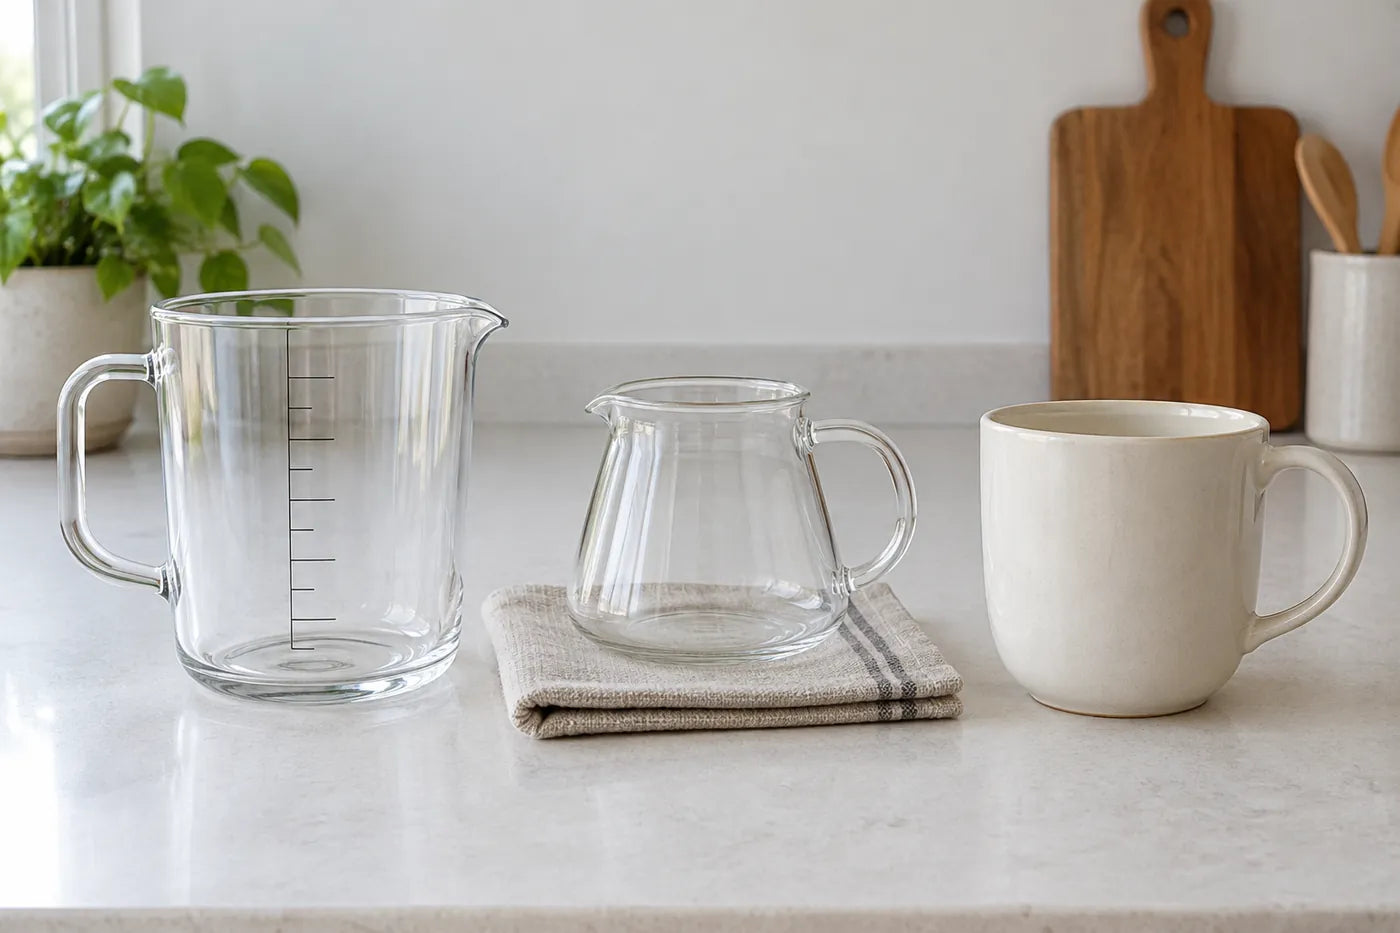
Start with the amount you actually want to drink, leaving the headroom your mug and lid require. Its advertised capacity may describe a fuller vessel than you would carry comfortably. Use a known volume measure to check your intended fill with cool water, then empty the mug. A desired serving is a target, not an instruction to fill every vessel to its rim.
Keep four quantities separate: dry coffee dose, water entering the brewer, coffee collected after brewing, and water added directly to the finished drink. Record their units. A recipe that specifies grams of brewing water does not promise that many milliliters of drink, and a chamber marking does not necessarily describe the finished serving.
Even the word “cup” needs checking. CHEMEX defines its cup sizes in five-ounce increments; its six-cup designation corresponds to 30 ounces. That is a manufacturer convention, not six of whatever travel mug you happen to own. Read the actual volume and exact model designation before using a cup count in your plan.
Write a short starting note: “My normal recipe gives about this much finished coffee; I would like this much in my mug.” Measure your own usual result rather than borrowing another person's yield. You now have a specific gap to solve without confusing the mug, brewer, or recipe.
2. Choose a route your equipment supports
| Route | When it fits | Main tradeoff |
|---|---|---|
| Supported larger recipe | Your exact brewer has instructions for the larger dose and water amount. | Requires a recipe within its working range, not just proportional arithmetic. |
| Brew, then add water | Your method supplies a suitable concentrate, or you enjoy a gentler finished drink. | More volume lowers concentration; taste sets the useful stopping point. |
| Repeat the normal brew | You want more of the familiar strength and can complete another supported cycle. | Uses another coffee portion and more preparation time. |
| Keep the usual serving | Other routes exceed capacity, time, or your taste preference. | Less drink, with no new routine or purchase. |
For scaling, look for the larger recipe in the manufacturer's instructions for your exact model, filter and configuration. Do not assume a recipe for an XL version fits a smaller brewer. The official AeroPress instructions distinguish models and their recipes, illustrating why a familiar product name alone is insufficient. This guide does not transfer those doses or fill marks to another device.
If only one size is documented, treat that as your starting recipe rather than inventing a maximum. Multiplying coffee and water by the same factor describes a ratio, but it does not establish enough working space or a suitable brewing process. A machine's reservoir volume, basket allowance and permitted cycle are separate constraints; never enlarge one by guessing from another.
For repeat brewing, use fresh coffee and follow the prescribed reset and any rest or cooling requirement. Include that interval in your stop plan. If your device's repeat-use limits are unknown, keep the single supported serving until you can check. Two ordinary brews are an option only when the equipment and your available time allow them.
3. Understand what adding water can and cannot do
Water added directly to brewed coffee is often called bypass water because it does not pass through the grounds. In this guide, that means a serving adjustment in the receiving vessel, after the normal brewing process. It does not mean refilling a machine during a cycle, overriding its settings, or sending more water through used coffee.
The AeroPress Go capacity FAQ explicitly distinguishes brewing concentrate for later dilution from preparing a serving with all the water passing through the grounds. That establishes a model-specific example of two different routes. It is not evidence that every portable brewer can make the same concentrate or serving count.
Adding water makes a larger, less concentrated drink. It does not extract additional coffee from grounds that are no longer in contact with the drink. Consequently, adding water to an already weak cup will not give you a larger cup at its original strength. A concentrate intended for dilution and a normal-strength brew are different starting points.
Use suitable drinking water for the addition. Try a modest measured amount, stir, and taste when comfortable to drink. Stop while you still enjoy it, even if the mug remains partly empty. If the original coffee is unpleasant before dilution, resolve that separately: the guide to sour, bitter or weak outdoor coffee helps choose an appropriate first check. Filling the mug is not a reliable repair for a bad starting cup.
4. Use the finished volume for a simple trial
Here is a hypothetical planning example, not a recipe or a measured product result. Suppose your supported preparation produces 180 mL of finished coffee and your desired drink is 300 mL. The volume gap is 120 mL. That tells you how much added water would reach the target; it does not tell you whether you will enjoy the result.
Possible added water = target finished volume minus collected coffee volume. Use the same units on both sides, and keep the target below your vessel's usable limit. A negative answer means you already have more coffee than the target; it is not an instruction to alter the machine.
In that example, adding the full 120 mL takes the drink from 180 to about 300 mL. Ignoring small volume effects, its concentration would be roughly 180 divided by 300, or 60 percent of the starting concentration. That comparison is with the starting brew, not an ideal coffee standard. Taste cannot be predicted from this arithmetic alone.
During a home rehearsal, you might first add 40 mL, stir and assess the 220 mL drink, then make another small addition only if useful. These are invented trial increments, not universal recommendations. If you like 260 mL but dislike 300 mL, save the smaller result. You have found a practical serving preference without buying anything or forcing the target.
If you require more drink at approximately the familiar strength, choose a supported larger recipe or repeated normal brews instead. Use the receiving vessel specified for brewing, transferring afterward if appropriate. A tall travel mug that holds the finished amount is not automatically a suitable support for a manual press or dripper.
5. Decide what is worth repeating on the trip
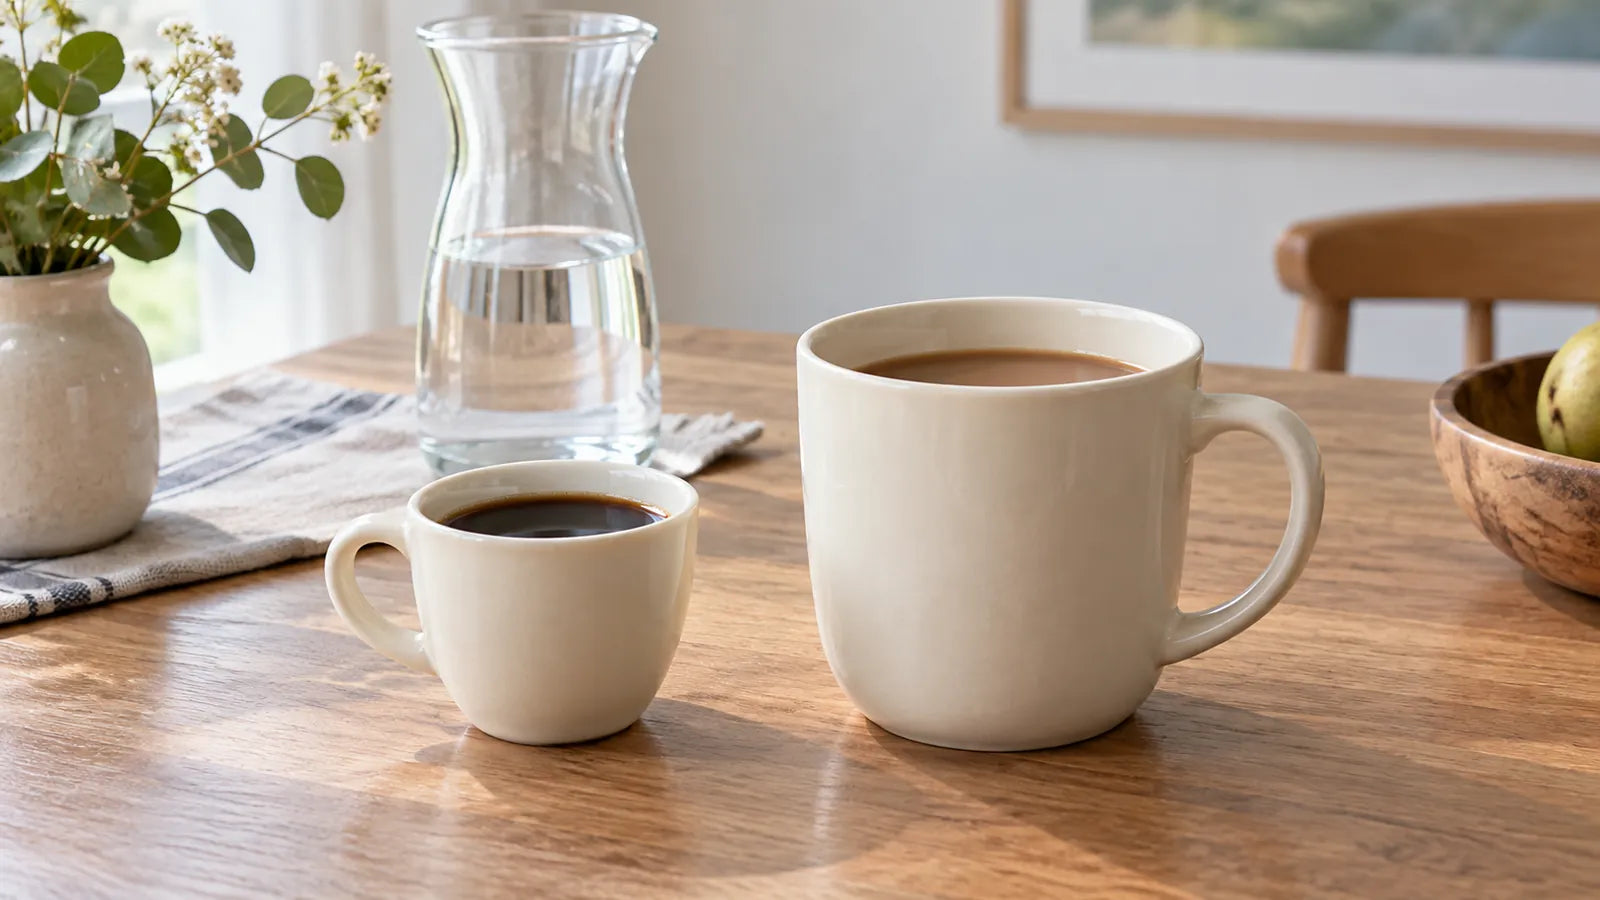
Rehearse the chosen route during an ordinary coffee occasion, using the actual travel mug and familiar coffee. Note the supported starting recipe, collected amount, added water if any, and whether the final serving suits you. Include the extra handling and reset time when considering a second brew. There is no need to prepare several surplus cups just to finish a comparison.
Accept the route only if it meets three conditions: the preparation stays within the instructions, the finished drink fits the vessel with usable headroom, and you enjoy it enough to repeat. If one fails, identify which one before changing gear. A smaller serving solves a volume ambition you do not truly need; a different preparation may solve a genuine larger-serving requirement.
For a short stop, the familiar smaller coffee may be the best choice. For a relaxed stop, a second supported brew may be reasonable. If larger servings are an everyday need and repeated preparation remains inconvenient, compare suitable larger equipment later using its documented working range. That purchase decision follows an established need rather than the size of an empty mug.
Frequently asked questions
Can I run another cycle through the same grounds?
Do not treat that as equivalent to a fresh normal brew. It changes the preparation rather than simply repeating it. Use the manufacturer's supported method; the repeat-brew route here means another fresh coffee portion, with the required reset.
What if I add milk?
Include it in the final vessel-space calculation and compare the drink as you normally enjoy it. Water and milk are different additions, so do not assume an accepted water-dilution amount predicts your preferred milk drink. This article supplies no milk-storage or machine milk-handling instructions.
Do I need a scale for the volume example?
No. A suitable kitchen volume measure can establish the finished-volume gap. Follow the coffee recipe's own measurement requirements separately. Keep grams and milliliters clearly labeled rather than silently substituting one for the other.
Sources and limits: linked manufacturer pages support only their named model or size conventions. The route comparison, rehearsal and numerical example are practical planning guidance, not first-party testing or a universal brewing recipe. The closed coffee maker in the Featured illustration demonstrates no capacity or operation; all pictured props are generic and all three images are generated illustrations.