
How to Keep Coffee Hot Outdoors: A Cup-and-Lid Checklist
To keep coffee hot while camping, start with the vessel you drink from: use suitable insulated drinkware, fit its intended lid, and shorten the time coffee sits exposed before you enjoy it. If the vessel's instructions allow preheating, include that step in your plan. None of these choices creates a universal number of hot hours. Your drink amount, starting conditions, lid use, and outdoor environment all affect the result.
The useful goal is a cup that suits your actual drinking window. A quick espresso break and a long conversation beside a campsite table ask different things of a mug. This guide helps you inspect what you already own, identify where your routine loses warmth, and compare one change at home before packing extra equipment.
Separate brewing from keeping a finished drink warm
A brewer prepares coffee. A drinking vessel manages the interval between preparation and the last sip. Choosing a portable espresso maker does not establish how long a separate mug will retain heat, and a self-heating brew mode should not be assumed to provide an ongoing keep-warm function.
If you have not decided whether to prepare coffee at home or during a stop, start with our portable espresso versus pre-brewed coffee comparison. Here, assume that decision is already made. The remaining job is to match your finished drink to a cup, a lid, and the time you intend to spend drinking.
Look for the places warmth escapes
The U.S. Department of Energy describes conduction, convection, and radiation as basic heat-transfer mechanisms. In plain terms, warmer objects transfer energy to cooler surroundings through contact, moving fluid, and radiation. An open hot drink also loses energy through evaporation. Cup walls, the opening, surrounding air, and the surface beneath the vessel all belong in your inspection.
You do not need to calculate each mechanism at camp. Use the explanation to ask focused questions: Is the cup insulated? Is its lid fitted as designed? Does your routine leave the drink open while you do another task? Is a gusty table position making the same mug behave differently? These are starting points for comparison, not a promise that one change will produce a particular temperature improvement.
Inspect the whole cup, including its lid
Read the instructions for your exact drinkware before treating it as a hot-drink container. Similar-looking bottles can have different permitted contents, closures, fill limits, and cleaning requirements. A fitted sipping lid and a sealed transport closure may also have different jobs. Appearance alone does not establish insulation or leak resistance.
Check the intended lid, its fit, and any manufacturer-described seals. If a closure is damaged or does not seat normally, resolve that before planning to carry hot coffee in it. Avoid improvised covers or modifications that interfere with the designed opening. A cup that needs constant attention may be a poor match for a relaxed outdoor break even if its advertised retention figure sounds attractive.
| What you observe | What to check next | Useful comparison |
|---|---|---|
| Coffee waits in an open cup | Whether the vessel has an intended hot-drink lid | Your normal routine with that lid used as instructed |
| A large mug holds a small serving | The actual amount you drink and available suitable cup sizes | A smaller suitable vessel with the same serving |
| The drink cools before a long conversation ends | The complete drinking window, including interruptions | A suitable insulated vessel you already own |
| Results differ between home and camp | Starting conditions, opening frequency, and exposure | A repeat with those conditions recorded |
| A lid no longer fits normally | The exact manufacturer's care or replacement guidance | Resolve the defect before testing hot contents |
Define your drinking window before choosing capacity
Write down when you expect to take the first and last sip. Include the things that interrupt your break: finishing breakfast, looking at a map, or talking with a companion. A mug chosen for an uninterrupted five-minute pause may disappoint during a much longer stop. The interval matters more than the appealing size printed on the box.
Choose capacity around the drink you actually make. Do not add coffee just to fill a large bottle, and do not exceed a vessel's fill instructions. A smaller suitable cup can be worth comparing for a small serving, but size alone does not prove superior retention. Construction and lid design still matter. Treat the comparison as a way to find your preference, not a rule that the smallest cup always wins.
For example, imagine that your coffee break begins at 8:00 and you normally finish at 8:20. Those times define a twenty-minute personal use case; they are not a recommended holding period or a TrailBrew performance claim. Evaluate your drinkware at that interval rather than relying on an unrelated all-day marketing figure.
Use preheating only where the vessel instructions support it
Thermos recommends preheating its vacuum-insulated products with hot water according to the applicable care instructions. That is guidance for the relevant Thermos vessel, not blanket permission for every mug or for an espresso machine. Check your own vessel's permitted water temperature and procedure before including preheating.
If it is allowed, account for the separate water, handling, and disposal steps before leaving home. Empty preheating water as directed before adding your drink. Do not transfer this procedure to TrailBrew's powered body, treat every clear component as a flask, or improvise a heating method. If your plan lacks the resources or instructions to do the step properly, compare a routine that does not require it.
Reduce interruptions that leave coffee standing open
Arrange the break so the cup is ready when coffee is ready. If you always spend the next few minutes searching for a snack or unfolding a chair, move those tasks earlier. Use the lid as its maker intends between drinks, and keep the vessel on a stable permitted surface. You can improve the sequence without adding another item to your kit.
When possible, choose a comfortable position with less direct wind exposure. Do not trade a stable location for a precarious sheltered ledge. The aim is a practical drinking spot, not a makeshift enclosure around hot equipment. For the broader campsite routine, our car-camping coffee guide covers the overall setup.
Compare one change during a home rehearsal
A short written comparison can prevent an unnecessary purchase. Start with the cup and routine you normally use. On another comparable occasion, change one factor: the intended lid, a different suitable vessel, or permitted preheating. Keep the coffee recipe, drink amount, and planned interval as consistent as practical. Do not change all three and then attribute the result to the cup.
- Write the baseline. Record the vessel, drink amount, lid routine, starting preparation, location, and intended finish time.
- Name the single change. For example, use the same vessel's intended lid normally between sips.
- Record interruptions. Note whether you repeatedly opened the lid or left the drink while completing another task.
- Record your preference at the planned finish. Use words such as comfortably warm, warmer than wanted, or cooler than preferred. Do not taste a drink that is too hot.
- Repeat if conditions differed. A different starting drink or weather makes the comparison less clear.
A personal observation is enough to choose a routine, but it is not a laboratory retention rating. No temperature measurements or completed tests are reported in this article. If you use a suitable food thermometer, follow its instructions and record the actual readings; do not turn an estimated temperature into a measured result.
Use the result to make one practical decision
If your existing cup meets your drinking window, keep it. If using its intended lid solves the problem, add that lid to your normal packing check. If the result remains disappointing, compare another suitable insulated vessel you already own before buying one. Keep the same serving and interval so the decision answers your actual question.
If the coffee is still warmer than you want at the finish, maximum retention is not your goal. Allow it to reach a comfortable drinking condition according to the vessel's instructions. Insulation does not make a drink immediately comfortable to sip. Your successful setup is the one that fits how you enjoy coffee, including the time you are willing to wait.
Frequently asked questions
How long will coffee stay hot outside?
There is no universal duration. The vessel, lid use, starting conditions, amount, and environment matter. Use an exact manufacturer's rating only within its stated context, then assess whether your routine meets your own drinking window.
Do I need a large insulated bottle for espresso?
Not automatically. Choose drinkware suitable for your serving and intended interval. Compare a smaller suitable vessel if a large bottle is awkward for the amount you actually drink. Do not assume a capacity label predicts your result.
Can I use TrailBrew as a coffee warmer?
Do not infer an ongoing keep-warm function from its self-heating brewing description. Follow the current instructions for your exact unit. This guide addresses separate drinkware after brewing and provides no machine heating modification or retention guarantee.
Does a travel mug have to be sealed while I drink?
Use its intended sipping and closure design. A transport closure and a sipping position serve different purposes. Follow the maker's instructions rather than improvising a cover or assuming every fitted lid is leakproof.
Are the illustrated mugs included with TrailBrew?
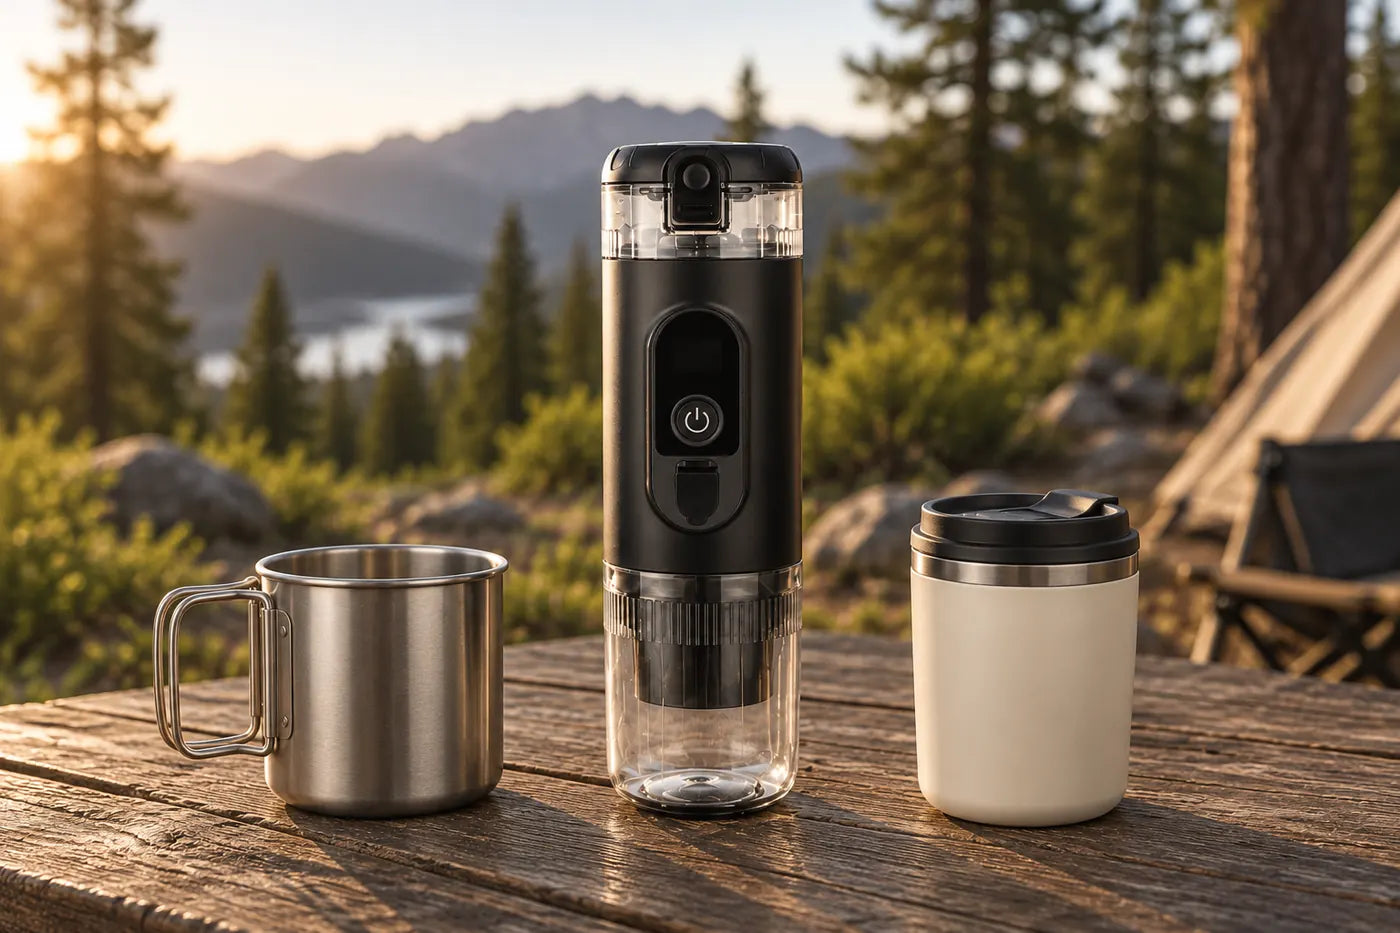
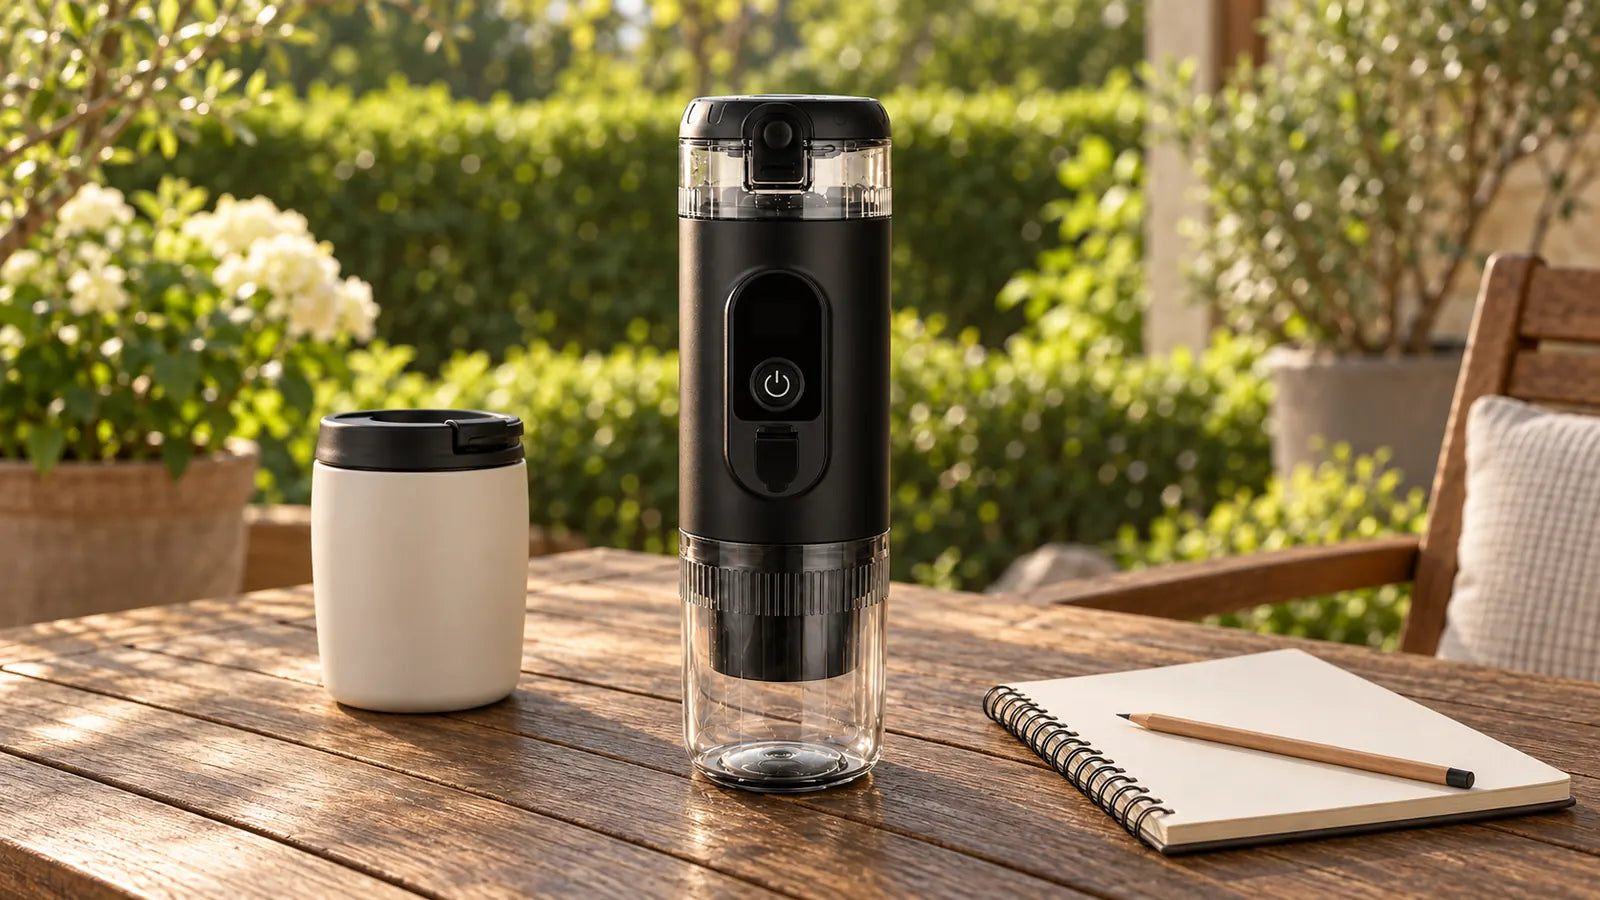
No. The mugs, notebook, pencil, table, and campsite furnishings are separate illustrative props. The images show a closed, dry Black unit, not a brewing demonstration or a completed heat-retention test.
Build the break around the cup you enjoy
Start with one suitable vessel, its intended lid, and a realistic finish time. Record one comparison, keep the change that helps, and remove steps that do not. If you are also evaluating the brewing side of your kit, review the current TrailBrew Obsidian Black portable espresso maker listing for its specifications and package options. Choose the brewer and the drinking vessel for their separate jobs.
Sources reviewed September 14, 2026: U.S. Department of Energy, Building Science Education, “Heat Flow”; OpenStax, “Water,” evaporation explanation; Thermos Australia, “FAQ,” temperature-retention guidance; and the current TrailBrew Obsidian Black product page. General heat-transfer principles and manufacturer-specific care guidance inform this article. The drinking-window worksheet and home comparison are editorial planning suggestions, not reported first-party tests.