
Coffee Thermos Still Smells After Washing? Check It Before Your Trip
If your coffee thermos still smells after washing, check the empty body and lid separately, then use the care instructions for those exact parts. Another rinse of the bottle will not tell you whether the remaining problem is in the lid. Complete the permitted washing, rinsing and drying steps before reassessing. If the odor persists or a part looks damaged, set that vessel aside and take an existing suitable cup while you ask the manufacturer what to do next.
Here, “thermos” means an insulated coffee flask or travel mug. This guide helps you organize a pre-trip check. It does not identify microbes from a smell, certify drinkware as sanitized, or promise that every odor can be removed. A clean-looking surface and an acceptable smell are observations, not laboratory results.
Start with the vessel, not the next batch of coffee
Write down what you actually noticed: old coffee smell in the empty bottle, an odor near the drinking opening, or an unpleasant smell only after the lid is attached. “The coffee tastes wrong” is a broader problem. Changing beans, grind or brewing temperature immediately makes it harder to work out whether the drinkware was involved.
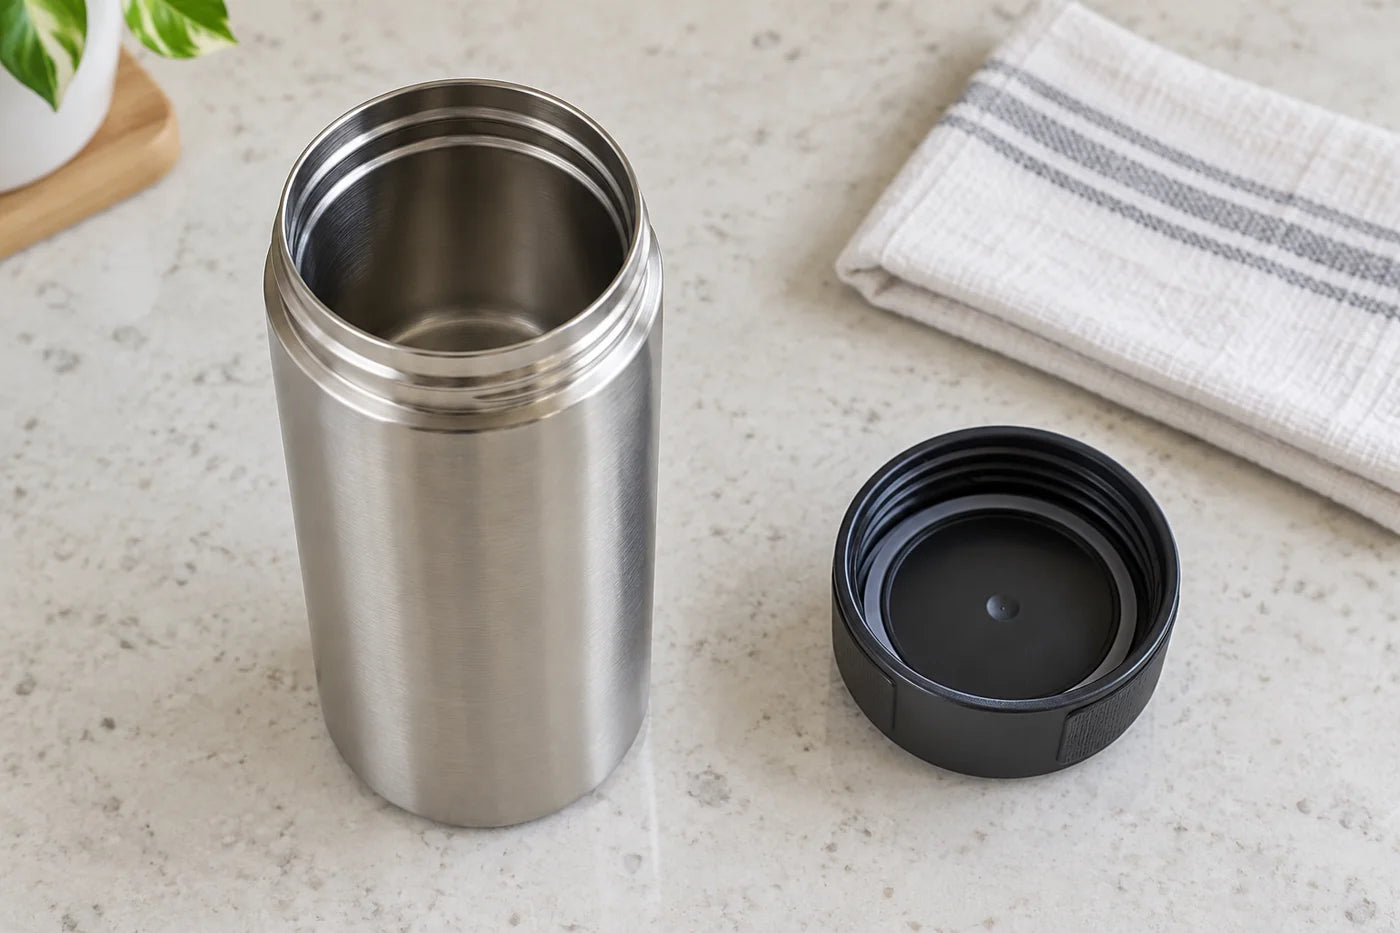
Empty the flask and let it cool before examining it. In good light, look at the mouth, accessible threads, lid underside and other surfaces you normally wash. Note any visible residue, remaining moisture or damage. You do not need to put your face into the container or deliberately inhale an unknown odor to complete this check. If there is obvious contamination or damage, leave it out of the trip kit and seek the maker's instructions.
Keep three observations separate: an odor, a stain and physical damage. A brown mark does not tell you which cleaning treatment is permitted. A part that looks normal may still need its documented care. The point is to choose a supported next action, rather than make a diagnosis from color or smell alone.
Identify the lid before removing anything
Find the model number on the vessel, packaging, order record or manufacturer's product page. Then check the lid name or generation. If you have several similar mugs, put only this flask and its own lid on the work surface. A care page for another lid can be detailed and still be the wrong instruction.
There is a real design difference here. YETI's Rambler care page describes a removable gasket and magnet for the MagSlider lid, while warning against removing the small pressure-valve gasket on its Bottle Straw Cap. The Zojirushi SU-B manual says its sip area and gasket form a non-removable one-piece lid. These examples establish why “pull every seal out” is not a general cleaning rule.
For your own mug, answer two questions before taking off a component: does the exact manual identify it as removable, and does it show how to refit it? If either answer is missing, leave that part in place. You can still inspect the exposed surfaces and collect the model information for support. Do not pry open an integrated assembly just because a similar-looking lid comes apart in a video.
Turn the care page into a part-by-part plan
Read the cleaning section with the actual parts in front of you. A useful plan is short: part, allowed method, and what happens after washing. Copy the relevant instruction rather than relying on a remembered rule for “stainless steel.” The metal body, coating and lid assembly can have different limits.
| Part or question | Find in the exact instructions | What to record |
|---|---|---|
| Body interior | Routine washing method and allowed cleaning tools | The method you can complete with available supplies |
| Lid and drinking opening | Permitted openings, removable pieces and access points | Which surfaces need separate attention |
| Stubborn marks | A treatment for this kind of mark and this part | Cleaner, quantity, contact time and rinsing directions, if specified |
| Dishwasher | Permission for each part, position and cycle limits | Any piece that needs a different route |
| After washing | Drying, reassembly and storage requirements | When the vessel can return to your packing area |
For a concrete model example, the SU-B manual describes warm water, mild dishwashing liquid, rinsing and thorough drying, with hand washing recommended for extended use. It prohibits bleach and boiling. It gives separate instructions for water/rust marks and stubborn tea or coffee stains. Those are distinct instructions for that model; a water-stain treatment should not silently become an all-purpose odor treatment.
The Thermos brand FAQ directs owners to each product's own Care and Use manual and says most of its products are top-rack dishwasher safe. “Most” is a reason to confirm your model, not permission for every flask. Its replacement-parts availability is also product dependent.
Complete one documented care route
Start by checking whether the previous wash actually covered the parts and steps in your instructions. Perhaps the body was washed but the accessible lid surfaces were missed. Perhaps you packed the set before completing the drying step. Repeating the appropriate routine carefully is more informative than adding several new cleaners at once.
If the manufacturer provides a separate treatment for the issue you see, follow that treatment as written. Do not improvise a stronger concentration, a longer soak or a combination of household cleaners. A stain-removal product mentioned for a metal interior is not automatically suitable for every gasket, painted surface or lid mechanism.
Before starting, make sure you can finish the route: suitable washing space, the specified supplies, enough time to rinse and dry, and the refitting instructions if a part comes off. An incomplete treatment just before departure leaves you with a less clear decision. Using your existing backup cup is a reasonable choice when the documented process cannot be completed in time.
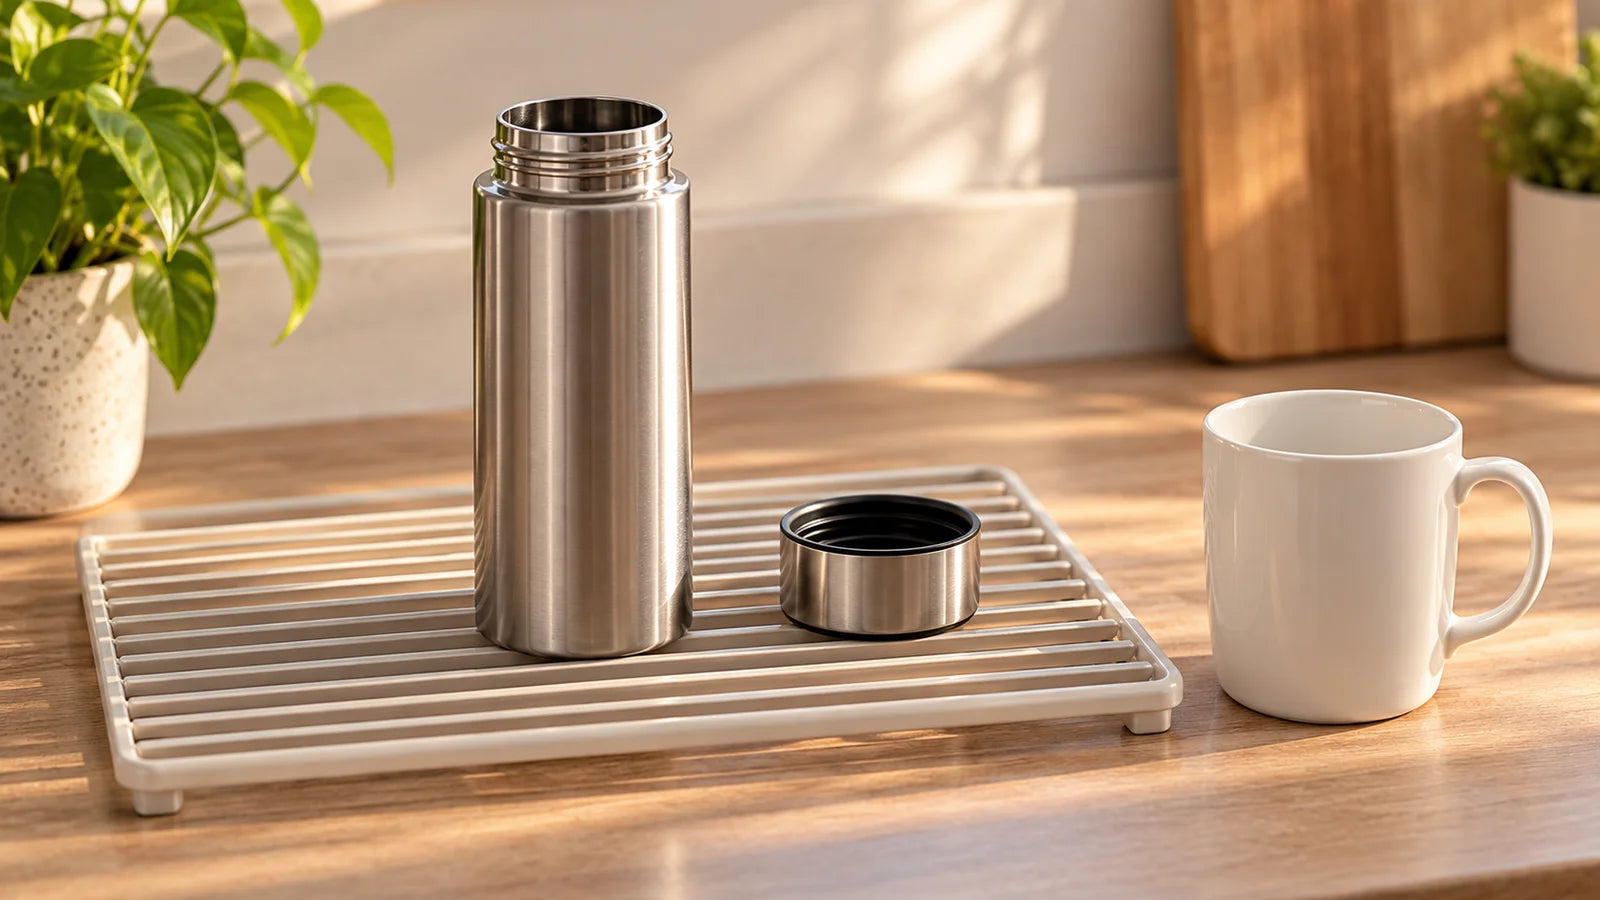
Keep the coffee maker out of this drinkware process. Flask instructions do not authorize immersing an electric brewer, treating its seals or washing its internal components. The machine shown in the featured illustration is a separate item in the travel kit, not equipment being cleaned in this guide.
Reassess after rinsing and drying
Return to the same observations you made at the start. Is residue still visible? Is the lid dry where you can inspect it? Does the unwanted odor remain apparent during ordinary handling? Record what changed without declaring a cause you have not established. “Body seems unchanged; lid still has an old-coffee odor” is more useful for support than “the whole thing is ruined.”
YETI's cited MagSlider instructions specifically require the parts to be dry before reinstallation and storage. For other lids, follow their own drying and assembly directions. Do not conceal unfinished care by closing the flask and putting it back in the bag.
If the lid no longer seats normally after permitted cleaning, deal with that as a separate fit problem. Our travel mug lid fit checklist explains the distinction between matching the lid, attaching it and closing its drinking cover. Odor improvement alone does not establish that a lid has been refitted correctly.
Make the departure decision without buying a new kit
- Care completed, no unresolved issue: reassemble as instructed and complete the maker's normal pre-use checks. Keep the same cup and brewing plan.
- Odor persists after the correct care: set the flask aside. Ask the manufacturer about the affected part and the care already performed before trying another treatment.
- A part is damaged or cannot be cleaned as directed: ask about the exact replacement or service route. Do not assume a similar-looking spare is compatible.
- Departure is too soon: take another suitable vessel you already own, or drink from a familiar cup during a planned stop. An open cup changes the carry arrangement; it is not a substitute for a closed travel container in a bag.
Imagine that the flask body appears clear after documented care, but the intact lid still has an unwanted odor. You have no confirmed replacement and leave tomorrow. The practical answer is to take the spare vessel and send support the model number, a photo of the lid and a description of the cleaning steps. This is a decision example, not a tested claim that replacing a lid will solve every smell.
Questions that come up before a trip
Does this apply to glass-lined flasks or electric travel mugs?
Use the observation and model-identification questions, but do not transfer the cleaning examples. The examples here concern specified stainless steel drinkware. For a glass-lined flask or powered mug, start with its own care instructions and support channel. A similar shape does not make the construction or cleaning permissions equivalent.
Can I use an overnight cleaning recipe I found online?
Only use a treatment your own product instructions permit for that part, including its stated duration. A successful anecdote from a different flask does not establish compatibility. If the instructions are unclear, ask support instead of extending or combining treatments.
What if I cannot find the model number?
Photograph the vessel, lid underside, base markings and any order details for the manufacturer. Avoid dismantling unknown parts while identifying it. Take the known backup for the current trip rather than treating an unidentified flask as a test case.
Sources checked October 8, 2026. Manufacturer examples illustrate care differences, not universal procedures. The observation sequence and trip decisions are editorial planning guidance. No first-party cleaning, odor-removal, sanitation or performance tests were conducted.